UNDERSTANDING THE LACK OF STRETCH OF A TANNED CAPE.
Glen Conley
The first thing I would suggest doing would be to click on this link. That will take you to a page on the Protein Data Bank website, with an exceptionally good article by David S. Goodsell. Pay particular attention to the paragraph, Collagen on the Grocery Shelf. I think you will find that his explanations and illustrations will help you to better understand the microphotographs I have provided. I have a suspicion that you will also be startled with the correlations you will make.
When you are done with that page, just simply click on that little X in the little square in the upper right hand corner of your monitor, and you will return to here.
The first specimen you will be looking at is from a wet tanned pronghorn antelope cape. The sample specimen was courtesy of Dan Moon.
The second specimen is from a whitetail cape, it too was a wet tan. It is one that I did myself with the WHITETAIL DESIGNER SYSTEMS. I am supposed to do that in all caps any time because it's the way the name is done as a registered trademark. Details, details, details.
What you are going to be looking at is a comparatively brief out line of what has taken place when collagen has been subjected to acids. I am going to start at square one with my illustrations and explanations and build up from there. If I did my job right, you should have a better understanding of skin and leather making by the time I am done. Again, this is brief, a condensation, very few facts, but at least enough to start getting your mind and eye balls trained for more learning and understanding.
If I have done this presentation right, you should know at the end of it as to why some capes do not stretch when rehydrated as a dry tan, or why stretch is absent in some wet tans. The antelope sample was not reported as a bad tan, so don't take this article to mean that it was.
********************************************************************************************************
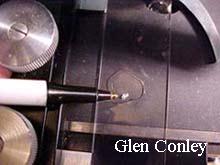
This photo will help to get us on the same language. I have resized the image so that it will appear in the ball park of life size on your monitor if you are set at 640 x 480 or 800 x 600 pixels.
The Bic ink pen, which was purchased before the war, points at the specimen suspended in a drop of water on the microscope slide. The specimen was cut from the flesh side of the tanned hide, meaning this was cut from the dermis, the supporting part of the skin underneath the actual epidermal/epithelial cells. This is the same section of skin you are shaving to thin for mounting purposes.
********************************************************************************************************
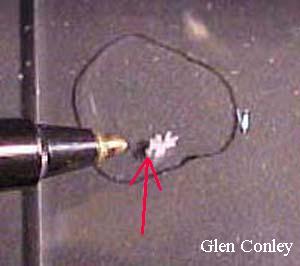
For this photo, I did a crop and enlarge of the ink pen tip and specimen. Where I put the little red arrow, look at the lobe like piece that the tip of the arrow points to. That little lobe will more than fill the field of vision in the objective lens of the microscope.
********************************************************************************************************
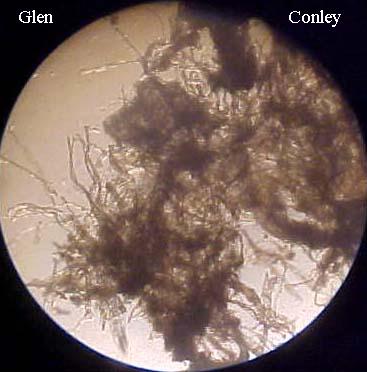
You are now looking at a part of that little lobe. The stringy fibres are the collagen fibres of the dermal layer of skin, or more accurately, what is left of them, as fibre structures, after having been in an acid solution. Notice the darker blobs that they run out of.
********************************************************************************************************
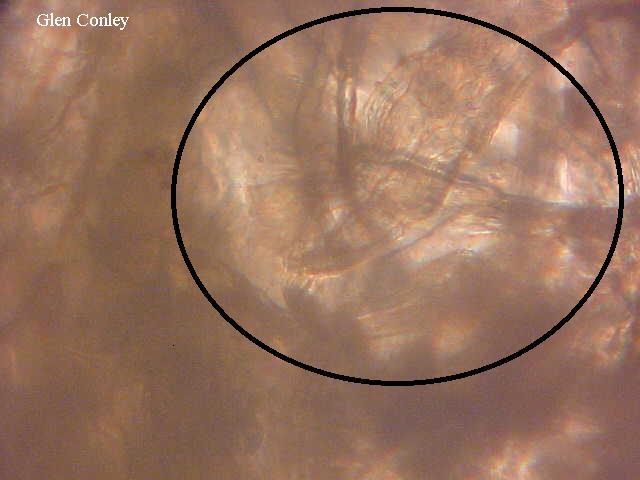
This photo has things really enlarged. It is enlarged to the point that it is actually "mind blowing".
A person could probably take this equipment and take pictures of bacteria and make them look like they are big enough to eat your dog.
This is one of the blob sections. Inside the oval, you will see how the collagen fibres have started to "unfurl". Notice out side of the oval that things still appear kind of uniform in appearance.
********************************************************************************************************
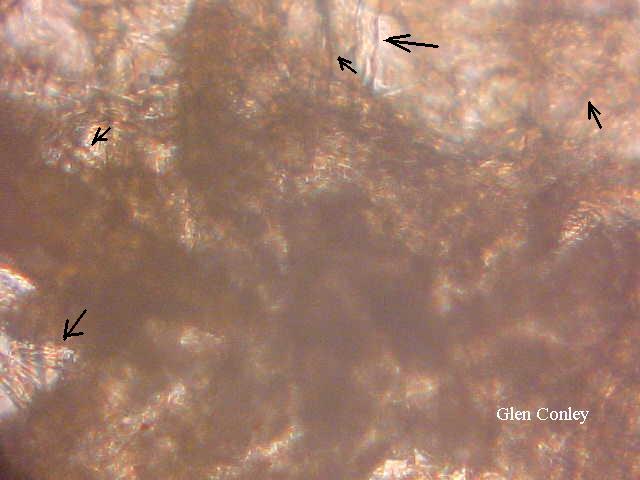
The magnification is now not as great. Remember how the fibres ran out of the blobs in 3? That's what the arrows are pointing at, the fibres. Notice how the blob still looks like blob.
********************************************************************************************************
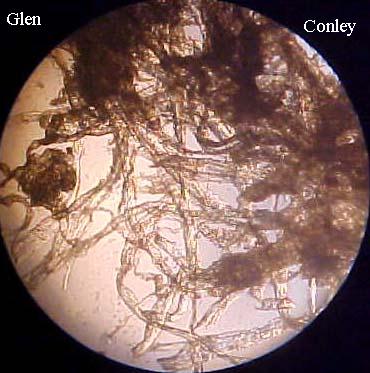
Now we are looking at specimen number two. The whitetail I tanned. Looks a lot like 3 doesn't it? Fibres running out of blobs, but magnified a little more.
********************************************************************************************************
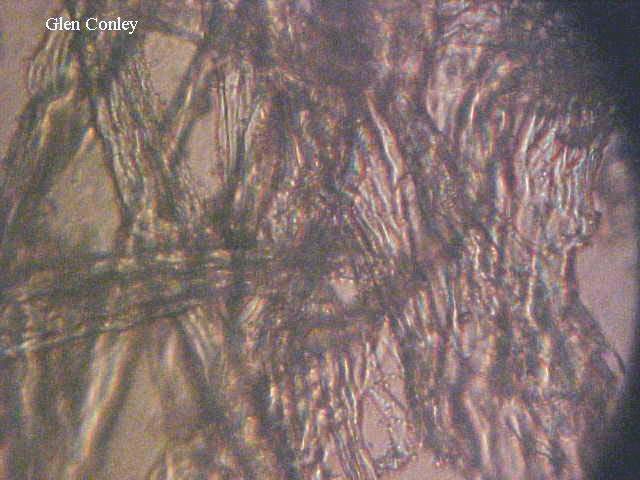
Now we zoom right in on one of the sections of blob. Why, there's fibres going everywhere! What's going on here?
********************************************************************************************************
EXPLANATION TIME
The antelope skin displays characteristics associated with a formic acid pickle. The specimen was soaked in water until rehydrated. Then the sample was teased apart with dental explorers, or more properly, it was teased apart as much as possible. That is what you were looking at in photos 3 and 4.
Photo 5 was taken after the sample was allowed to thoroughly dry, and then it was once again rehydrated and teased with the explorers. The blobs still remain.
The blobs you saw in the antelope skin pictures were created by the heat of the acid reaction dissolving, or disassociating the collagen strands. They are still protein, but they have lost their structure as they would have functioned in live skin.. The sum total of all these little blobs are now behaving like tack welds on metal. The fibres of the dermis are no longer able to slide back and forth over themselves like they were doing in a live animal.
The sample in the WTDS acid photos was simply teased apart with straight pins when it was rehydrated once. These fibres could be separated even more by keeping them wet and doing more teasing. The fibres are not welded together, that allows this wet tanned skin to stretch as much if not more than what it would do on a live animal.
The fibres you saw in the last photo are not exactly what you would have in the skin of a live animal. They have been altered with the WHITETAIL DESIGNER SYSTEMS Leatherizing Acid, and the orientation has been helped with WTDS Shrink-Tonic.
By now you probably already have a better understanding of skin structure than what you had just not a whole lot of minutes ago.
I would suggest you use this link to once again go to the Protein Data Base website, to read another of David Goodsell's articles and check out another one of his fantastic illustrations. The illustration will give you a much better understanding of collagen support in a living system.
WHITETAIL DESIGNER SYSTEMS, INC.
Has made another expansion! Web site services for taxidermists are now available!