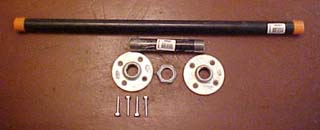
You can get the hardware components from just about any hardware or home improvement store. For the one in this example, 3/4 " black pipe and galvanize fittings were used.
Pictured are 3/4" x 24" threaded both ends black pipe, 3/4" x 6" black pipe nipple, 3/4" flanges, 3/4" lock nut, and 5/16" x 11/2" lag screws. Absent when photo was taken, 3/4" galvanized 90 degree elbow.
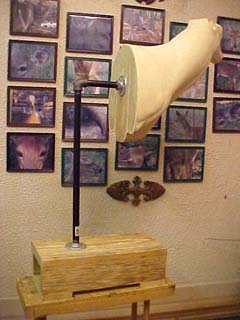
Assembly is just as simple as it looks. I like to set the stand on the floor when I slide a cape on. I also like setting the stand on the floor when I am doing form alterations, that provides a better three dimensional view of the work piece. The 1 x 4 cross member allows me to stick my foot in the space to help stabilize.
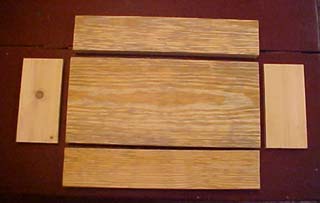
The 24" pipe length I use lets me use existing table top heights that I have. I have a wooden box that I will set this size stand on for sewing.
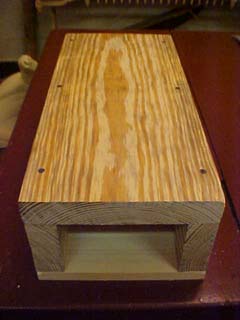
If you only do a few mounts per year, you might want to consider a plywood bottom for the base.That would allow you to unscrew your parts, and store inside, taking up a minimal amount of space..
If you want a taxidermy reference photo wall, like you see in the background, you can get the various WHITETAIL DESIGNER SYSTEMS taxidermy reference photo disks, and print your own to fit 8 x 10 frames.