COYOTE SHOULDER MOUNT TAXIDERMY TUTORIAL
by Terry Davis
Effingham, Illinois

So you want to be a taxidermist? A coyote shoulder mount is one of the easiest things to start on. They are readily available and make an eye pleasing trophy. You can get all of the reference you need from a google or yahoo search - Your wife will love it too – put it in the living room and she’ll jump for joy.
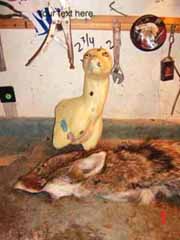
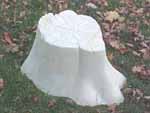
Figure 1) well we gotta get started – we need two things: a cape and a form – here they both are –this particular form is a wall pedestal – it’s a little ragged looking cause its been floating around under my workbench for about 6 months – the one you order definitely will look better – I tan all of my coyote capes – I do this so they will flesh easier – and b4 I mount I rinse in fabric softener for that clean minty smell – I learned that trick off of George on taxidermy.net – seriously the hides are so sweet smelling they make you sick…but they don’t smell like a coyote – I bondo all of the ears – this saves a ton of time and a ton of money – I also set the eyes ,,, mainly so I wont misplace them – I put a ball of sculptall behind the eye and it stays with the form until I’m ready for it
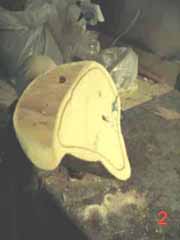
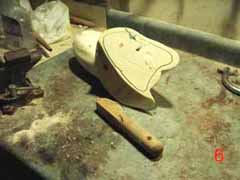
Figure 2) lets prep the manikin for the hide – on the back of the form we are going to route a groove and then tuck the skin in this groove
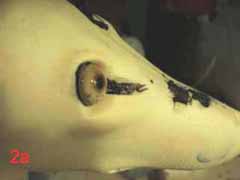
Figure 2a) notch in front of eye – we will push the corner of the eye into this clay
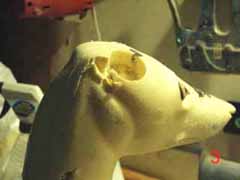
Figure 3) drill two 1 ¼ holes to accept clay for ears to attach - more on this later
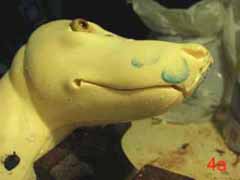
Figure 4a) route a notch in mouth for skin to go in
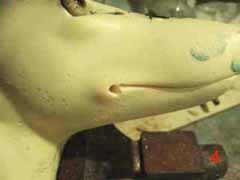
Figure 4) drill a small hole (1/4” or so) to tuck the corners of the mouth in
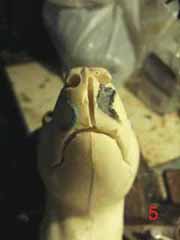
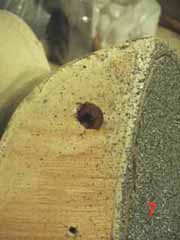
Figure 5) drill out nose holes and rout a vertical hole as shown – we will tuck the skin in this hole – the area immediately under the nose should be hair to hair – if you don’t put this slot there the skin will show – all you want to see after mounting here is hair with a slit in middle – I learned this from a Jan Van Hoesen bobcat video but it is true with all mammals I have mounted – hair to hair
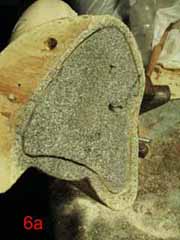
Figure 6) rough up the back of form (pedestal part that doesn’t touch wall
Figure 6a) this area of form rarely shows on a small mammal like coyote but for this article we are going to finish it – I use spray rock from wal-mart to finish – the color is manahattan mist – spray it and let it dry b4 going on – it takes a while to dry – when it is dry to the touch seal it with triple thick from krylon – it dries in a heartbeat – it has to be sealed
Figure 7) drill a hole in the area that lies against the wall – you need to drill it close to the top – wall pedestals ARE NOT very stable and you may have to do something else on wall to hold in place because they are so top heavy – howling coyotes are the worst – they need double anchoring
Figure 8) this is what I use for glue on all of my mammal mounts
(deer included) – the caulking gun allows you to put it right where it
is needed – this EXACT material can also be used as fin backing
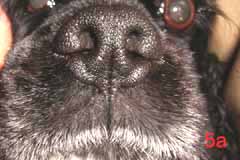
5a) this is a closeup of my cocker haley - it shows the hair to hair split below the nose - she is a perfect match for a coyote (at least her nose is)
In Memory of
"Mr. Coyote"
Terry Davis
WHITETAIL DESIGNER SYSTEMS, INC.
Has made another expansion! Web site services for taxidermists are now available!